Exterior Painting Guide: How to Paint Outside Walls Like a Professional
Complete exterior painting guide for decorators. Learn surface preparation, weather considerations, product selection, and techniques for a finish that lasts 10 years.
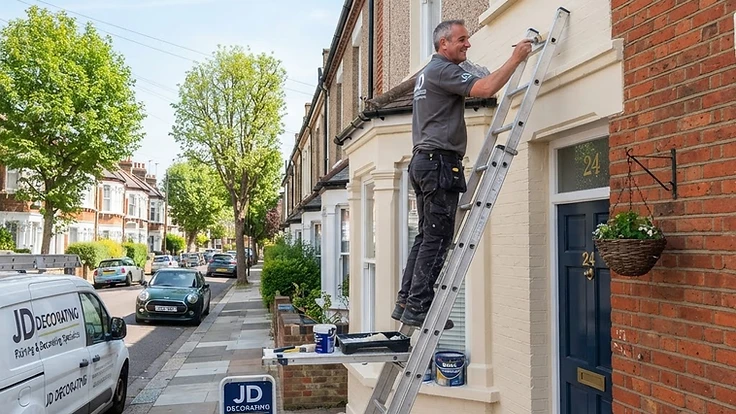
Exterior Painting Is a Different Game
Interior painting is forgiving — you control the environment, the temperature, and the humidity. Exterior painting is at the mercy of the weather, the surface, and the seasons. Get it wrong and your paint job will peel, blister, or fade within a year. Get it right and it'll protect the building for a decade.
Here's how professional decorators approach exterior painting for a finish that lasts.
1. Choose the Right Time of Year
Timing is everything with exterior work. The ideal conditions for painting outside are:
- Temperature: 10°C to 30°C (check the paint tin — most specify a minimum temperature)
- Humidity: Below 70%
- No rain: Dry conditions for at least 24 hours before and after painting
- No direct hot sunlight: Paint dries too fast and can blister
- Low wind: Dust and debris stick to wet paint
In the UK, the best months for exterior painting are May to September. Avoid painting in early spring (too damp) or late autumn (frost risk). Always check the forecast for the 48 hours after you plan to finish.
2. Assess the Surface
Exterior surfaces vary widely and each needs different preparation:
- Render and masonry: Check for cracks, loose render, and efflorescence (white salt deposits)
- Pebbledash: Check for loose stones and algae growth
- Wood (cladding, fascias, windows): Check for rot, peeling paint, and open joints
- Metal (gates, railings): Check for rust and flaking paint
- Previously painted surfaces: Assess adhesion and overall condition
3. Clean the Surface Thoroughly
Exterior surfaces accumulate years of dirt, algae, pollution, and organic growth. Paint won't adhere to a dirty surface.
For masonry:
- Use a pressure washer (carefully — too much pressure can damage render)
- Treat algae and mould with a fungicidal wash
- Remove efflorescence with a stiff brush (don't wash it in — it'll dissolve and reappear)
- Allow the surface to dry fully — this can take 2–3 days after washing
For wood:
- Wash with sugar soap
- Sand to remove all loose and flaking paint
- Treat any rot with a wood hardener and filler
4. Repair Defects Before Painting
Never paint over damage — it won't hide it, and it won't fix it.
- Cracks in render: Widen with a scraper, fill with an exterior-grade filler, and allow to cure
- Loose render: Remove and re-render the affected area
- Rotting wood: Cut out the rot, treat with wood hardener, and fill or replace
- Rust on metal: Wire-brush to remove all rust, treat with a rust converter, and prime
- Open joints in wood: Re-caulk with an exterior-grade sealant
5. Choose the Right Paint
Exterior paint is formulated differently from interior paint — it needs to withstand UV, rain, temperature changes, and movement. Using interior paint outside is a guaranteed failure.
For masonry:
- Smooth masonry paint: For render, concrete, and brick
- Rough masonry paint: For pebbledash and textured surfaces
- Mineral paint: For lime render and historic buildings — breathable and long-lasting
For wood:
- Exterior eggshell or gloss: Flexible enough to cope with wood movement
- Wood stain: For natural wood finishes — soaks in rather than forming a film
For metal:
- Direct-to-rust paint: Can be applied over sound rust after wire-brushing
- Metal primer + topcoat: For the most durable finish
6. Prime Properly
Primer is even more important outside than inside. The right primer ensures adhesion and prevents the topcoat from failing prematurely.
- Bare masonry: Use a masonry primer or a thinned first coat of the masonry paint
- Bare wood: Use an exterior wood primer
- Bare metal: Use a metal primer compatible with your topcoat
- Stains: Use a stain-blocking primer to prevent bleed-through
7. Apply the Paint Correctly
For masonry, use a large-pile roller and work in sections of about 1m². Don't try to cover too much at once — the paint needs to be brushed or rolled out before it starts to dry.
For wood, use a quality brush and follow the grain. Cut in around glazing and edges first, then fill in the main areas.
Two coats are standard for most exterior work. Allow the first coat to dry fully before applying the second — check the tin for the recommended recoat time, which is typically 4–16 hours depending on the product and conditions.
8. Work in the Right Order
Paint from the top down to avoid dripping on fresh paint:
- Fascias, soffits, and barge boards
- Gutters and downpipes (if painting)
- Windows and doors
- Walls (masonry or cladding)
- Doors and gates
9. Know When to Stop
If conditions change — rain threatens, the temperature drops, or the wind picks up — stop painting. A coat applied in poor conditions will fail and need redoing. It's better to lose an afternoon than to repaint an entire elevation next year.
How Long Should Exterior Paint Last?
A properly prepared and painted exterior should last:
- Masonry paint: 7–10 years
- Exterior wood paint: 5–8 years
- Wood stain: 3–6 years (needs more frequent recoating)
- Metal paint: 6–10 years
If your exterior paint is failing sooner, the cause is almost always preparation or product choice — not the paint itself.
Quoting Exterior Work
Exterior jobs are harder to quote than interior because of access equipment, weather dependency, and surface variability. Always factor in:
- Scaffolding or tower hire (if needed)
- Extra time for weather delays
- More prep time than interior work
- Higher material costs (exterior paint is more expensive)
Trade Assist's quote builder handles exterior surfaces with the same automatic calculations — enter the dimensions, choose the surface type and condition, and the app calculates paint quantities, materials, and labour. Add access equipment as a material line item and you're done.